Tuesday, February 8, 2011

1st Giant Surprise-filled Cupcake {for Mom}!

If you don't already have one, you've seen these Giant Cupcake molds right?  Well my dad got me one for Christmas and I haven't been able to use it until last week.  I wanted to make my mom a GIANT Cupcake to celebrate her birthday.  I was really nervous that I would totally mess it up.  I didn't mess it up, however, next time I might do a couple things different on everything (cake, frosting, filling)...and maybe pay attention to the directions a little better! :)

Not only was it my first try at using the Giant Cupcake mold, I also used our BRAND NEW KITCHENAID MIXER that my grandparents got us for Christmas for the first time (crazy, I know!), I made this yummy homemade buttercream frosting from Liz at Hoosier Homemade, and I also tried out this Surprise filling for cupcakes recipe from Erin at Honey Nougats.  Erin made these cupcakes for our church group last year and I fell in love!  So thank you Erin for inspiring me to use this in the GIANT Cupcake, and thank you Liz for helping me make buttercream frosting!!  Not only did I make the Giant Cupcake, I also made regular sized Surprise Cupcakes and froze half of them for later use.

Ingredients:
For the cake: (2) Milk Chocolate boxed cake mixes (2 = 1 for cupcakes, 1 for GIANT cupcake), plus the ingredients to make the cake. 

For the Surprise Cream Cheese Cupcake filling:
  • 8oz Cream Cheese, softened
  • 1 Egg
  • 1/2 cup Sugar
  • 1/4 tsp Salt
  • 1 cup chocolate chips
For the Buttercream Frosting:
  • 2 sticks or 1 cup of Real Butter, soften to room temp.
  • 4 cups Powdered Sugar, sifted
  • 1-2 tbsp Vanilla Extract
  • 2-4 tbsp Milk
  • Food Coloring of choice (optional)

Directions: (sorry kind of long, hopefully not too confusing)
  1. Preheat oven as directed on back of cake mix box. Grease the bottom mold and top mold of GIANT Cupcake with cooking spray as directed in the BigTop Cupcake instructions (this is a must or your cake will stick!).  Line cupcake pan with regular sized cupcake liners.
  2. Mix cake mixes together as directed (I just did both at the same time, much easier).
  3. The BigTop Cupcake mold takes a total of 4 cups of cake batter.  Fill the bottom mold up to the 2nd line (or 2.5 cups), and fill the top mold with 1.5 cups of batter.  Use the remaining batter to fill the regular sized cupcake liners about 2/3 full.
  4. To make the Surprise Filling: beat cream cheese, egg, sugar and salt until light in fluffy. Stir in chocolate chips.
  5. Take some of the filling (maybe 1/4-1/2 cup, I can't remember exactly how much I used) and put into the bottom of the BigTop Cupcake mold.  Set the bottom and top molds into separate circle cake pans (they are done at different times, so it makes it easier to take out of the oven).  Bake as directed in the BigTop Cupcake directions say (I think the bottom is 45 min, and the top 50 min).
  6. While BigTop Cupcake is baking, fill your regular sized cupcakes with remaining Surprise filling, just a little dollop in each.  Bake as directed on cake mix box after the BigTop cupcake is finished.  Let cool and frost as desired.
  7. Take out BigTop cupcake when its finished, let cool completely.  The cake should slide right out of the molds once its cool.  You will need to "shave" some off of each mold so they will lay evenly when you stack them. 
  8. To make buttercream frosting: whip soften butter until creamy.  In a separate bowl add powdered sugar and sift it together with your whisk.  Slowly add in powdered sugar, and alternate with milk and vanilla.  Beat well.  Add in your food coloring of choice (I chose a few drops of Red to make Pink!).
  9. Spread frosting over top of bottom cake and then stack the top onto the bottom.  This will make your Giant Cupcake!  Frost your BigTop Cupcake as desired!!
  10. When you're ready, cut right into your Giant Cupcake...your guests will LOVE the surprise filling at the bottom!!

KitchenAid Mixer getting after it!
 
Bottom mold, fill to 2nd line (or 2.5 cups batter)

    Fill top with 1.5 cups batter
    Surprise filling ready to be added
     
    Surprise filling in the bottom mold, ready to be baked
    
    Surprise cupcakes waiting to be baked
     
    Whipping up the butter for the Buttercream Frosting
    Sifting Powder Sugar with whisk
     
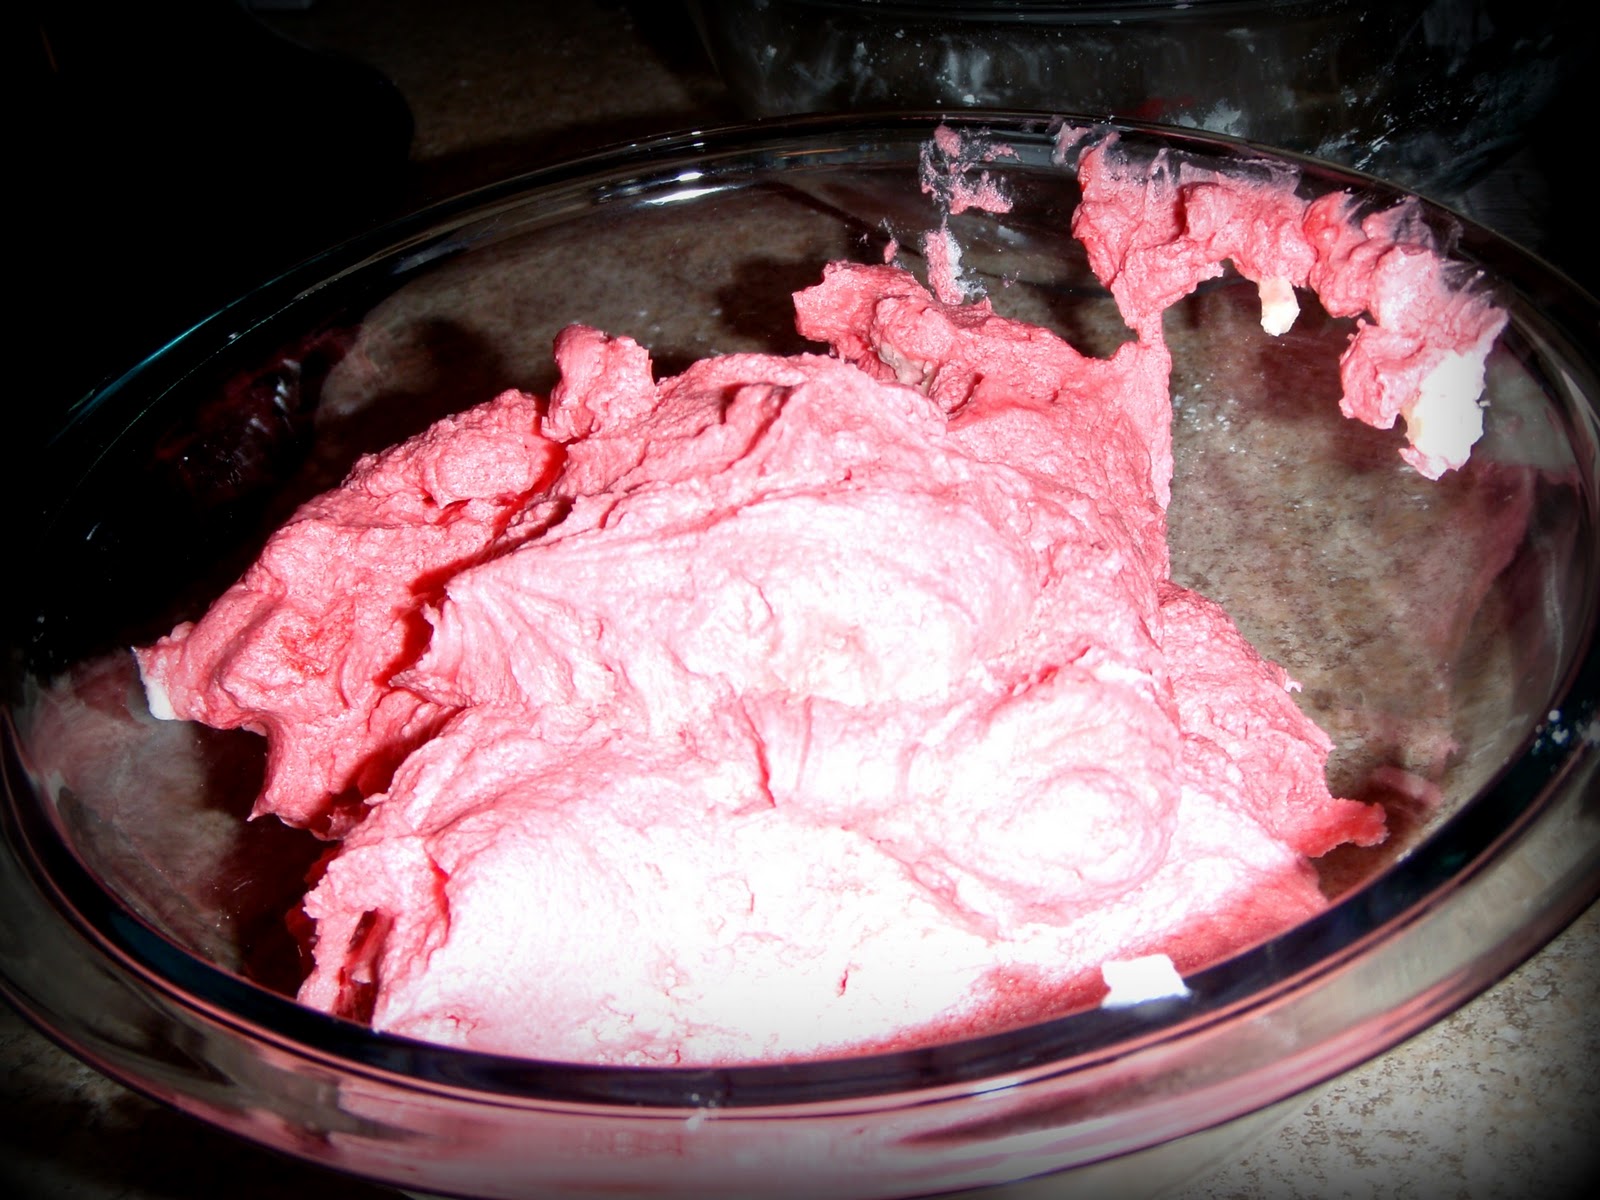
    After adding the Red food coloring to make Pink frosting!
    
    Bottom of cake cooled, and evening top part out
     
    Frost top of the bottom cake so the top will stick
    
    Add the top
      
    Viola...all finished!!!  Ready to eat!
    Not as pretty as I wanted it to be, but still turned out pretty tasty!
     
Some tips and thoughts for next time...
  1. Remember to add the surprise filling before putting cakes into oven!! Yes I totally did that, and realized about 1 minute into that I needed to add it. Out came the cakes, added the filling, and back into the oven! I don't think it hurt anything though!
  2. Follow the BigTop Cupcake directions and re-read them to be sure you are reading it correctly!! Yes, that was me; after thinking it said the top would be done first, I then realized it said the bottom would be done first, so back went the top of the cupcake for 5-10 min longer!!  I think the bottom was done 45-50 min, and the top 50-55 (top should bake a little longer than the bottom).
  3. Don't add the surprise filling into the cupcakes until they are ready to bake!!  I went ahead and put a dollop into the cupcakes right away, the filling sunk to the bottom.  It's not a big deal, doesn't ruin them, however the filling should be in the center!  The BigTop cupcake comes with a filling insert, but I wouldn't use it with this type of filling.  Check with toothpick to be sure they are done!
  4. If you make your Buttercream frosting while everything is baking, put into refrigerator!!  I did put mine into the fridge, but not for the whole time.  By the time I was ready to put it into my decorator bag, it was warm and thin, so I wasn't able to make everything look pretty like Liz does!  Plus when you're squeezing the frosting in the bag, it will warm it up even more.

Yummy Surprised-filled Cupcake (with no frosting)!!


UPDATE...I said above that I froze the extra cupcakes for a later use...check them out at my Grandma's 80th birthday party! They tasted just as great as the day they came out of the oven!


Linking up to...
At Home With Haley
It's A Blog Party
Peas & Crayons
The Girl Creative
Today's Creative Blog
The Shabby Chic Cottage
What Allie's Making Now
Somewhat Simple
Paisley's Passions

Monday, February 7, 2011

Faith Family Friends Decorative Tile - 1st Cricut Party Part 2

So last week I blogged about my first experience with the Cricut, and I finally can show you the Decorative Tile I made my mom for her birthday!  She absolutely loved it, it will look so cute in her apartment!


I can't tell you what cartridge I used for FAMILY or for FRIENDS (I had to spell out friends using a font cartridge), FAITH came from "Inspired Hearts" Cricut Lite Cartridge, and the little squiggly shape came from Accent Essentials Cricut Cartridge.  It was pretty easy to do.  I figured out what size I wanted them (I think I went with 3"), let the Cricut do its thing, and then stuck them on the tile.  I just love how it turned out!!


It didn't cost me much at all to create this, but yet it's super cute!  I will be creating more of these for gifts and to use in our home!  I can't wait to show you the Subway tile I'm doing for Spring!!


Linking up to...
At Home With Haley
It's A Blog Party
The Girl Creative
Today's Creative Blog
The Shabby Chic Cottage
What Allie's Making Now
Somewhat Simple
Paisley's Passions
Lovely Crafty Home

Thursday, February 3, 2011

Easy Juicy Shredded Chicken 'n Bean Burritos...Mmm!

The weather here has been brutally cold this week, like we're talking -30 degree windchill.  Luckily, the snow didn't get us very much, but the 40+ MPH wind hit us like a brick wall!  Yes its very windy here in KS, but that was some of the worse wind I've ever experienced, probably because of the Arctic temps that we had.  Anyways, so last night I wanted something easy to make for supper.  Something cooked in the crock pot, something with Chicken, but I didn't know what.  So I went browsing on the internet and found a recipe for Easy Crock Pot Chicken Tacos at BetterRecipes.  Let me first say I'm not a huge fan of the normal Chicken Taco recipe on the back of the Taco Seasoning packet...just not a fan.  But I really like shredded chicken from the Crock Pot, because it's juicy, so I decided to give it a go...with some of my own additions of course.  After I cooked the chicken and saw how tender and juicy it was, I decided to make some "fat" burritos with it...man were they good!  You've gotta give them a try!!!

Ingredients:
3 Chicken Breasts, boneless, skinless (more if you are feeding a lot of ppl)
1 Taco Seasoning packet
1 cup Water
1 can Rotel
Flour Tortillas (I used Whole Wheat)
1 can Refried Beans (I used Taco Bell Fat Free)
Cheese
Jalapenos (optional topping)
Salsa (optional topping)
Sour Cream (optional topping)

Directions:
1. Spray crock pot with cooking spray.
2. Place Chicken Breasts into crock pot (frozen or thawed)
3. Cover with Taco Seasoning, Water, and Rotel.
4. Cook on High for 4-6 hours or Low for 6-8 hours.
5. Take Chicken out and shred (it will literally fall apart before you get it out of the crock pot, that tender)
6. Put back into sauce in crock pot.
7. Heat up Refried Beans on stove or microwave, and heat up tortilla's in microwave for a few seconds.
8. Layer tortilla with the following:
  • layer of beans
  • big pinch of shredded cheese
  • shredded chicken (don't be shy!)
  • a few jalapenos
9. Roll Burrito up, cover with cheese, melt in microwave.
10. Cover with Salsa and Sour Cream (and other toppings as you wish) and enjoy!!

Look at that mountain of yummyness!

Stuffed!

So tasty!

Mouth watering yet?!


Linking up to...
At Home With Haley
It's A Blog Party
Peas & Crayons
The Girl Creative
Today's Creative Blog
The Shabby Chic Cottage
What Allie's Making Now
Somewhat Simple
Paisley's Passions
Not So Homemade

Wednesday, February 2, 2011

I {heart} U...Valentines Pancakes!


Just for a little Valentines fun, I decided to make Valentines themed pancakes for supper.  Who doesn't love Breakfast for supper, seriously?!  Remember those Cinnamon Bun pancakes I made awhile back, courtesy of How Does She?  Well I have been craving them, so I whipped up a batch and some maple bacon to go with it.  They were delish, not to mention very cute!!  I made some hearts, x's, o's (circles), and D got a very special plate...I made him "I <3 U" pancakes!!  He saw them and said "Aww..."!  He loved them!

D's special plate, just for him!!!

Here is the recipe again real quick...
Ingredients:1 1/2  cups Flour
3 Tbsp Sugar
1/2 tsp Salt
4 tsp Baking Powder
1 Tbsp Cinnamon (I used a little more, because I love Cinnamon!)
2 large Eggs, beaten
1 cup Milk (you can add more if your batter is too thick, I added a little more this time)
2 Tbsp Corn Syrup (I used Light Corn Syrup)
1/4 cup Butter, melted
1 Tbsp Vanilla

Directions:
1. Grease up your skillet/griddle with Butter, Crisco, or Pam Spray, and heat to medium/low heat.
2. Mix all of the Dry Ingredients in a Large Mixing bowl, set aside.
3. Mix all of the Wet Ingredients in a separate bowl.
4. Combine the Wet Ingredients in with the Dry Ingredients in the Large mixing bowl, mix well (careful not to overmix your batter, or the pancakes might turn out tough).
5. Drop the batter into the heated skillet/griddle, wait until there are bubbles, and flip (flip only once!)!
6. Once both sides are golden brown (only takes a few minutes), they are ready to eat!!
7. Sprinkle plate and pancakes with a little extra Cinnamon, because you love it soo much!!!
Look at all of that yummy Cinnamon!!!

Mmm...!

They were a little thin, but still very delish!!  I froze some of the leftovers, so we'll see if they will be just as good when I go to eat them some other day!


Linking up to...
At Home With Haley
It's A Blog Party
Peas & Crayons
The Girl Creative
Today's Creative Blog
The Shabby Chic Cottage
What Allie's Making Now
Somewhat Simple
Paisley's Passions
Not So Homemade

1st Cricut Party - Part 1!

Saturday we went to my cousins house and us girls worked on projects, and the guys played indoor golf (no, not putt-putt) and video games.  Jess was kind enough to whip up some beef and chicken tacos for supper, and we had some awesome fufu drinks and beer.  The fufu drink we had was Smirnoff Blueberry & Lemonade and OMG was it tasty!!!  It tasted like blueberry muffins! :)  We had so much fun we lost track of time, and before you knew it, it was already 2:30am!!  We decided to call it a night shortly thereafter.

My Cricut hard at work!


We were also hard at work while Mr Cricut was going!  LOL!

The guys

On to the projects...I say Part 1, because 2 of the projects I worked on one is a gift for my mom, and the other isn't quite finished.  However, I thought I would share with you what Ashley and Jess worked on Saturday night.  Some cute stuff right here ladies!!!

Jess' loves Coca-Cola!  Her whole kitchen/dining area is decorated with Coca-Cola stuff, it's really cute!  So she decided she wanted to create a wall quote that had to do with Coca-Cola.  Here she is...didn't it turn out great?!  I love it!

Jess hard at work!

Phase 1
 
Phase 1...Things Go Better With...

Phase 2

and it's finished!!

Turned out GREAT!

Ashley had a great idea and picked up some of the medium sized (not 12x12 or the small coaster size, in between size whatever that is) tiles from Home Depot.  She wanted to do something with "Live, Laugh, Love" on it, and get a wrought iron plate hanger things that you can put multiple plates (in this case tiles) in.  She doesn't have the hanger thing yet, but it will be so cute hanging on her walls when she does!  Here they are!


Ashley hard at work!

Phase 1 of her 1st project

Project 1 all finished and looking cute!
All she needs is the decorative plate rack to hang on her wall!
 Ashley also created a smaller tile for her sister that also says "Live Laugh Love" on it that turned out to be a cute little gift.  And she made her and my brother each a coaster with their first initial on it.  Very cute!!

Project 2 finished!

Project 3 finished (whew, she was busy!)
Very cute coasters!!
Well there you have it!  Stay tuned to see what I made my mom for her birthday!  She's supposed to come out to see us this weekend and celebrate her bday with us (weather pending) and go to a bridal show with me, so hopefully you won't have to wait long!!! 

I want to know some of your tips and secrets when it comes to the Cricut!  Where is the cheapest to get vinyl and cartridges?  What do you all think about the Sure Cuts A Lot program that works with the Cricut versus the Cricut Design Studio?  Suggestions please! :)