Showing posts with label Christmas. Show all posts

Thursday, February 7, 2013

Pumpkin {Ice Cream} Pie

Are you a fan of Pumpkin Pie at Thanksgiving or Christmas? What about ice cream? What if I told you I had an amazing recipe for Pumpkin Ice Cream Pie?! Well keep reading my friends, because whether you're a Pumpkin Pie fan or not, you're going to want this recipe!

pumpkin ice cream pie


For Thanksgiving, D and I ventured up to Iowa to see his Grandma and Aunt that live there. We didn't have the traditional Thanksgiving Turkey, but we did have some amazing food. Then it was followed up by some scrumptious Pumpkin Ice Cream Pie his Grandma made. I was in LOOOOOVE, and I don't even like regular Pumpkin Pie! So much in fact after it was all gone, there was some of the melted good stuff in the bottom of the pan, that I HAD to spoon it out! It was THAT tasty! We all raved about it, and D doesn't like anything pumpkin, but he really liked this. So I had his Grandma mail me the recipe, it arrived about a week before Christmas. MERRY CHRISTMAS TO ME!!!


pumpkin ice cream pie
I love this pumpkin pie plate my grandma gave me, you've alse see it used with my Pumpkin Oreo Cheesecakes!


D and I had our very own Christmas this year the night before Christmas Eve. It was great, and especially because this would be our 1st Christmas as Mr. & Mrs.! We hung out together all day, lounging, prepping supper, and then cooking. We made steaks, baked potato, and fresh green beans for supper, and for dessert we had Pumpkin Ice Cream Pie!! Talk about an amazing meal all together!

pumpkin ice cream pie


Ingredients:
9in Graham Cracker Pie Crust (pre-made)
3/4 cup canned pumpkin
1/4 cup brown sugar
1/4 tsp salt
1/2 tsp ginger
1/2 tsp cinnamon
1/4 tsp nutmeg
1 quart vanilla ice cream, softened
1/4 cup pecans, chopped (optional)

Directions:
1. In a large bowl, combine pumpkin, brown sugar, salt, ginger, cinnamon, and nutmeg. If you want pecans added, this is when you'll add them in. Mix well.
2. Add slightly softened ice cream, mix well.
3. Spoon into graham cracker crust, and cover.
4. Freeze for 3-4 hours, or until ready to eat.
5. Remove from freezer 15 min before serving (it will make it easier to cut & eat).
6. Top with whipped cream if desired (this Cinnamon Whipped Cream would be perfect)


Well what do you think? I do know this will be a recipe that will be put in my "to make again" recipe file. And let me reassure you, that you're going to LOVE this recipe as well as your family!


You might also like my Snickers Ice Cream Pie! ;)


Linking up too...

Sunday, December 23, 2012

Merry Christmas to You!

Merry Christmas to You!!
 
We didn't get around to sending out Christmas Cards this year,
but I did create one online really quick. I'm not sure where the time has went,
but I guess time sure does fly when you're having fun!!
 
D and I will be celebrating Our First Christmas as Mr. & Mrs. on tonight!
I plan on making us a delicious supper, having dessert, open presents, and watch a movie together!
 
Christmas Eve we will go over to D's parents in the afternoon to do Christmas with them,
and then it's off to his Grandparents for supper, gifts, games, and shenanigans!
 
Christmas Day, we will get up early in the morning and go to my family Christmas, Dad's in the morning/afternoon, and Grandparents/Mom late afternoon/evening.
 
'Tis the season to be busy and but always making time to spend it with Family!!
 
From our family to yours...
Have a Merry Christmas!!


Friday, December 21, 2012

2012 Burlap Christmas Tree

I've had our tree up for a couple of weeks now, but I just haven't gotten around to blogging about it. I finally took some pictures of it during the day, and at night (on my phone) so I could share it with you all.

burlap tree

This year I wanted something a little different. I was over the multi-colored lights that were on my tree that I have had for years. I was over the maroon & gold colors with tons of different ornaments. And I was over the tree skirt I've also had for several years. I wanted something new, but I couldn't justify spending money on another tree, when the one we had would suffice for the time being. I was going to sell it, but decided against it.

2011 Christmas Tree

What I wanted was a nicer looking faux tree, white lights, burlap ribbon, and pretty silver, gold, brown, and white ornaments. I also am in love with the ruffled tree skirts that sell on etsy for an easy $80, which I couldn't justify purchasing. I didn't mind buying a few ornaments, and some burlap ribbon, but the rest was out of the budget.
 
burlap tree
 
 
So this is what I ended up doing...using the tree we already had, but not plugging the multi-colored lights in. Adding a few strands of white lights that a friend gave me for free before the wedding, wrapping burlap/jute ribbon around it, using new & some old ornaments, and using a cream colored ruffled table skirt Ashley gave me last spring as the tree skirt! So the only thing I ended up having to purchase was some new ornaments (spent maybe $20, most from Hobby Lobby, a few from Target), and 4 rolls of burlap ($1.99 each on sale)!! I think it turned out pretty darn cute, and just the look I was going for (well, for the most part)!


The only thing I am missing is a tree topper, but I haven't found one that I absolutely love. I was going to make a large bow out of the burlap ribbon, but it's not wired and I'm not very good at making them. It doesn't look bad without it, I don't think.


And the improvised tree skirt, which is really a table cloth...I ABSOLUTELY LOVE IT!! Thank You Ashley if you're reading this!! :) You can't even tell it's not an acutal tree skirt. The table cloth itself only has 1 layer of ruffle, but I folded it in half and lined the ruffles up to make it look a little fuller. I got all of our presents wrapped and put under the tree, so you can barely see it now. Before I loaded it up I took a picture with just a few under it so you could see it!


Do you have all of your Christmas shopping done, and presents wrapped?


Linking up too...
It's A Blog Party
Today's Creative Blog
The Shabby Chic Cottage
Somewhat Simple
Lovely Crafty Home
Polka Dots on Parade
Ginger Snap Crafts
Six Sisters Stuff
Semi Homemade Mom

Wednesday, December 19, 2012

Glitter Clothespins - Christmas Craft

Did you see how I held my JOY Cardboard Christmas Letters up? I used these gold glitter clothespins, which are also holding our Christmas Cards onto the garland. I just love this idea, and they are so easy to make! I'm sure this one is also an "already known how-to", but again I couldn't resist sharing with you all!


For this easy project, you will need:
  • plain wooden clothespins
  • modge podge
  • glitter (I used gold)
The only thing you need to do is cover the top part of the clothespin with modge podge, sprinkle on your glitter, and let it dry! It is as simple as that! I think it took me maybe 10 minutes to do 24 of them, if that. These are something you can use to display artwork, pin gift tags onto your gifts, hold up your Christmas Cards onto garland (or even twine), etc. It's the little details that can really dress things up a bit!

clothespin cardholders

As for my JOY letters, I'm not 100% sure I will keep them where they are. I am thinking of putting my burlap bubble wreath in the center of the windows, and putting the JOY letters somewhere else. Maybe at the top of the windows, or stringing them across our mirror. I'm going to play around with it, and see which I like best!


Linking up too...
It's A Blog Party
Today's Creative Blog
The Shabby Chic Cottage

Tuesday, December 18, 2012

JOY - Cardboard Christmas Craft


We've been really busy getting things ready for Christmas, but there is always a little time to do a fun craft! Last week was a really bad week, just 1 bad day after the next. So for a little stress reliever, I decided to create some Christmas decorations that I spotted on Pinterest awhile back, which also inspired me to recreate the whole garland look shown over at The Good Stuff blog! Check it out!

joy glitter letters


I'm sure this is nothing new, but I thought it turned out too cute not to share with my readers!

So for this project you will need the following:
  • Cardboard (I used the flaps from a box that I no longer needed)
  • Letters (or stencils -- I printed out some letters on the computer, and cut them out)
  • Marker (for tracing letters)
  • Scissors or Utility Knife/Box Cutters
  • Modge Podge
  • Glitter (I used gold!)
It's was pretty simple for me to create, and the only thing that took some time was cutting out the cardboard letters. Other than that, it was easy peasy! Side note: You can use your Cricut or other die cut machine, but I didn't feel like dragging everything out and wasting good scrapbook paper to use as a stencil. You can also use paper instead of cardboard, but I wanted my letters to be a little more durable. This is just how I did it! :)
  1. Decide on how big you want your letters, type them up, print them out, and cut.
  2. Trace the cut out letters onto cardboard, and then cut out the cardboard letters.
  3. Slather the front of letters with Modge Podge, then sprinkle glitter onto letters and let dry.
  4. Decorate with them as you wish!
joy glitter letters
traced letters ready to be cut out
 
joy glitter letters
Love the Cabelas ad underneath?! Thanks to my hubs for letting me use that to catch all of that glitter!

I had everything I needed, so for me, this was a free craft!! Even better!! I had some extra cardboard box flaps, so I plan on making another set to possibly use outside for something fun to hang. I hope to do that sometime this week!

So have you been doing any crafting in the midst of the busy holiday season?! We are all done Christmas shopping, 3/4 of the gifts are wrapped, just waiting on the last to be delivered this week, and then I need to start on all of the baking!


Linking up too...

Thursday, January 5, 2012

Happy New Year...excuse my lack of posting

Hey ya'll!!  I hope you had a wonderful Christmas and a fun New Years!  We sure did...it's was crazy, on the go the whole time, but we still enjoyed it!

Christmas was great!  We were able to spend some time with both of our families, ate way too much food, and received some wonderful gifts.  D was a little spoiled by me this year, but then again so was I!  I got him some hunting stuff he's been wanting, tickets to George Strait & Martina McBride (on his bday weekend in February, holler!), new pair of Oakley's, and some other odds 'n ends for our shed.  I think I'm more excited about going to see Gorgeous Strait more than he is...after all this will be our 3rd time seeing him.  Ya'll know that's how D and I met, right?!  So yes, this is extra special!!  He got me some bLinG bLiNg for my ears!  I've been wanting some nice studs for a long time, so excited that I finally got them! 

New Years was such a blast!  First I spent all day cleaning, tearing down Christmas decor, and getting our house back in order.  Then I cooked D and I some Chicken Fried Steaks for supper, and we eventually made it out the door to celebrate with our friends.  We stayed out way too late, so the next day wasn't as fun!  We pretty much lounged all day, took naps, and watched tv.  Monday we didn't have to work so we lounged in the morning, looked at Honeymoon stuff, and then I finished my cleaning in the afternoon.  It was a great day!  We came back to work on Tuesday, but I wasn't ready to come back.

I've been really busy with wedding planning....we are under 4 months away, I can't believe it!  Save The Dates are a little behind schedule, but are going out today and tomorrow.  We are this close to booking our Honeymoon in the Bahama's.  I've been googling, pinning, and brainstorming like crazy for decorations, flowers, etc.  My mind has been going non-stop lately, I kind of feel like I'm in a whirlwind!  Me and the girls picked out a date for my bachelorette party and 1 of my showers for the end of March. 

So yes, it's been a little hectic around here, which is why I haven't been blogging much.  Hoping to change that, or at least get 1 post in a week from here until April...I will try, but no promises!!  Hope you are having a great start to the New Year!! :)

Here are some pictures from the last few weeks to catch you up (Chiefs game, Christmas, and New Years)...

Andrew, Ashley S, Aimee, Mom, D, Me, Trevor, and Nicole
We went out to eat at a Japanese Steak House while in the {big} city, yum!
 
Chiefs vs Green Bay Packers Game!
Michele, Ashley S, and I!

Bernie is his Christmas sweater on Christmas Eve

Me and Aunt Hatty on Christmas Eve

D with his new Chiefs shirt and Chiefs flag for the shed

D and his new Oakleys...yep total dork! ;)

Us on NYE!

Me and my friend Jess on NYE

Our friends, Jess and Jeff

D and Jeff on NYE!


Friday, December 23, 2011

Merry Christmas to All

I was going to share a recipe for some yummy pretzels, but I haven't gotten pictures taken.  So instead I will just leave you with me wishing you all a VERY Merry Christmas!!!

Tonight is our company Christmas party, pretty excited for that.  After this week, I feel like I just need
to relax and have a good time!  It's been such a crazy week, that's for sure!!

Tomorrow we will do Christmas with D's parents in the afternoon, open gifts, shoot the bull.
Tomorrow night we will go to D's grandparents house to stuff our faces full of yummy
homemade food, open presents, scratch lottery tickets, play Christmas games,
and chat with family. 
Somewhere in there I will give D his Christmas Gifts...
if he can be good that long, that is!!

Sunday morning we will head off to my {small} hometown and spend lunch and part
of the afternoon with my dad, and then head off to my other grandparents/mom's
for more yummy homemade goodness and presents.  I think my favorite part
about Christmas is hanging out with family and eating all of the delicious food!!

Monday we are closed at work, so I'm hoping to get home at a decent time so I can get in a little R&R!

Anyways, I hope you all have a MERRY CHRISTMAS!!!  Be safe and stay warm!

2011 Christmas Tree


Wednesday, December 21, 2011

Christmas Goodies {Recap}

I have some different things on my Christmas Baking List this year, but before I share those, here are some that I made last year and blogged about.  Hope you find one to try out!! :)

Cinnamon Roasted Almonds (my all time fav! just as yummy as the ones you buy at the mall and will be making these again!!)


Caramel Nut Bars (these were great, but need to make sure to keep in the refrigerator until ready to cut, and after they are cut. the caramel gets really gooey!)


Oreo Truffles (didn't get around to making them for Christmas last year, but on my list again this year! so yummy!)


Homemade Peanut Butter Candy "Cane"ine treats (can't leave the dogs out! will be making these again also!)


Linking up too...

Tuesday, December 20, 2011

Winter Subway Art Tile

Whew...I'm feeling a little crazy after all of those projects last week and our long weekend away to the {big} city, and I haven't even began baking and barely started wrapping gifts!  I'm not going to lie, I'm a little exhausted!!  LOL! 

Friday late afternoon we headed to the {big} city to see my mom, have her Funky Zebra party, and then we went to the Chiefs/Green Bay game on Sunday.  We had a BLAST and I am still shocked that KC pulled off a win against Green Bay who was undefeated going into Sunday.  It was amazing!!  Monday we did some quick last minute Christmas shopping before we hit the road...the HUGE winter storm was on it's way in.  We didn't beat the storm home, but we did make it home safely after about 7 hours of driving.  It normally only takes us 4.5 hours, so we were ready to get home.  It was pretty scary, seen a lot of cars in the ditch, had to call in for 1 person who didn't have a phone.  There were several times on the last hour stretch home (which took like 2 hours) that we couldn't see a thing...it was a white out.  But WE MADE IT!  Thank you Lord for guiding us home safely!! :)  Not sure on the official amount of snow that we received, but I'm thinking at least 7-9 inches, with drifts over 2 feet tall.  We could barely get our back door open, and it was packed up against the shed doors.  This is the time I wish I were still in school so I could have a snow day!!! LOL!


Now on to my next project I created last week...Winter Subway Art Tile!!  I should be set for all 4 seasons now, maybe I'll start creating ones for each Holiday that I already haven't...we'll see! 


This time I used a light colored Tile, several different font cartridges, and Dark Green vinyl that I purchased from Expressions Vinyl.  I think it tuned out pretty cute!!  I also used my CDS software to help me get it layed out the way I wanted it, and this time I applied them in sections.  It was a lot easier.


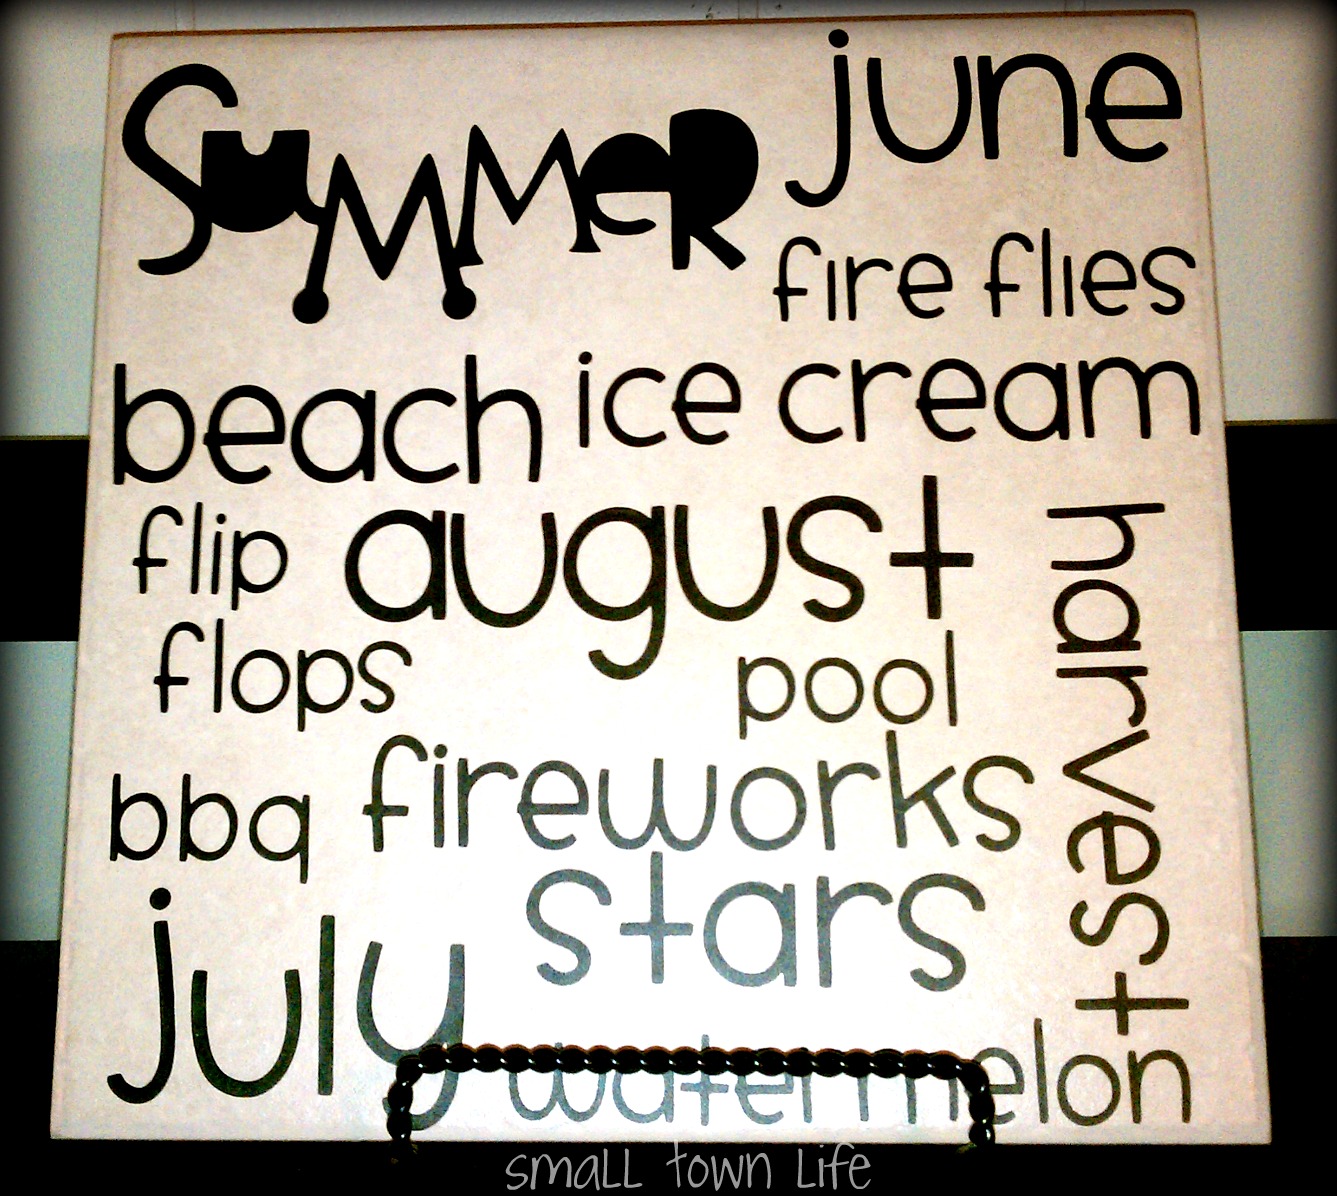
Here are my previous tile's I made for the other seasons...check them out! 

Spring

Summer

 
Autumn/Fall

Well we are officially done Christmas shopping, well 98% done anyways.  I have a few more gift certificates to grab, but other than that we are done.  Now just to get everything wrapped before Saturday, and goodies baked!! :)


PS - HURRY!!! There is still time to use Expressions Vinyl Promo Codes to receive a special discount, just click on the link, place your order and enter in promo codes, and viola!
XMAS2011 - 10% off your entire order (excludes Machines & Software), expires 12/31/11.
FROSTY - 15% off Cricut and Silhouette accessories (excludes Machines & Software), expires 12/31/11.
CHESTNUT - free shipping on orders over $50 (U.S. only, $7 credit for other shipping methods), expires 12/31/11.

Linking up too...
It's A Blog Party
The Girl Creative
Today's Creative Blog
The Shabby Chic Cottage
What Allie's Making Now
Somewhat Simple
Lovely Crafty Home
The Sisters of the Wild West
Polka Dots on Parade
Just a Girl
Ginger Snap Crafts